Wednesday, May 31, 2006

A FF&L Lace Primer, Part 1

A bit of what I learned while knitting
Frost Flowers and Leaves,
a shawl pattern by
Eugen Beugler, published in
A Gathering of Lace by Meg Swansen.
  • Before you start Frost Flowers and Leaves, check that you have the errata for this pattern.
  • You can also join a KAL for this shawl, if you like. These knitters mostly began in November 2005, but there have been quite a few recent joiners. The also have a file section for errata, a triangular version, and a spreadsheet on stitch counts. If you like the company, this might be for you.
  • I worked myself into a tizzy about needles, thinking I had to have special points for lace. I bought several types - Bryspun, with beautiful tips but really lousy joins, and Baylenes, which were serviceable enough - but not slick enough for me. Well, what I needed was to just get used to manipulating really, really skinny yarn. When I got past the dpn stage, I found that my good old Addi turbos, blunt tips and all, worked just fine.

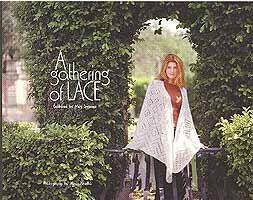
  • I did blow up the chart. No! Not literally! Though I sure felt like it several times during the process of knitting this one. I know they've warned me that they'll throw me in irons for making a photocopy, but I wasn't stealing the pattern. The person at Kinko's did give DH a bad time. But thanks to DH's charm, Kinko's enlarged it, and I got a chart I could actually read. Plus, I don't have to mess up the book.

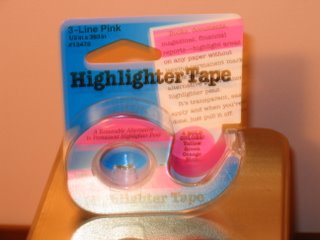
  • One of my big discoveries during the course of knitting this shawl is highlighter tape. I won't knit without it when I need to closely follow a pattern, ever again.

This stuff makes it simple to mark rows; it stays stick enough to move it a bunch of times, and it's a cinch to read through to the row(s) below.

Circular Cast-on for Frost Flowers and Leaves, and other lace

To start, you'll need to know how to do a circular cast-on. And you'll find that this beginning, with its first few rows, is not so easy to do - no matter how many socks you've already knit on dpn's. You will have eight stitches on four dpn's, and knit friends, it is a pretty good challenge. It gets easier, though - much easier, after a few rounds. Hang in there.

There are two methods rather vaguely (IMO) described in the book. I found a great site with the best pictures here for Emily Ocker's circular cast-on.
Casting-on Hint 1: Here's what I unvented to solve all the fumbling during those first few rounds.
  1. After making the cast-on ring of stitches, I arrange them on three dpn's using a needle size several sizes smaller than the size I would be using for the shawl. To begin an eight-stitch round, I place 2 stitches on the first needle, 4 on the second, and 2 on the third. I knitted my FF&L with a size four needle, so I began with size 2 dpn's. Now it's easy to see what order the needles need to be in in order to join the first round, and harder to accidentally twist the stitches. I also know, without a marker to further confuse things at this awkward stage, that the beginning of the row is between the two dpn's that have the two stitches on them, so my brain can simply fuss with essential motor skills now. I join and knit the first round.
  2. At the beginning of the second round, I begin using the next dpn size up, exchanging each needle for the next larger size as I come to it. Each needle still has a unique feature, so it's easy to tell what's next. For example, after knitting one needle in the round, needle 1 is a larger size dpn, needle 2 has more stitches on it, and needle 3 is still the smaller size needle.
  3. At the beginning of the third round, I begin exchanging each dpn for the next larger size as I did in round 2. By the end of this round, all the dpn's will be the "working" needle size. I work another round or two with 3 needles holding the stitches, and then divide them to the proper 4 dpn's. By this time, things are much more solid on the needles, and I proceed as usual from there.

The difference in stitch size is not really obvious, but those center stitches look beautifully shaped and balanced. Like a lot of knitting instructions, it reads as though it's complicated, but it's really simple when put into action. If this way didn't improve the appearance of the center of the shawl, I would call it a cheat. But even if I could manage all those sticks with utmost grace and finesse during the beginning, I'd still do it my way just for the improved looks.

Casting on Hint 2: Place the work on a pillow, and rotate the pillow, not the dpn's. And use wood (or plastic, but not metal) needles to help reduce the slip.

Casting on Hint 3: If those first yarn-overs at the beginning of the row are making you nuts, skip them and pick them up on the following row.

Casting on hint 4: If you just can't do the circular cast-on, or hate-hate-hate it, do what a couple of my knit pals did: chain eight small stitches, stick 'em on dpn's, join, and go from there.

Getting to the knitty-gritty (sorry)

Gritty hint 1: This pattern got a lot easier for me with each successive chart - especially after the first break in chart one. And remember that you need to move your marker(s) on the arrow rows. The marker is moved at the beginning of each of the corners - knit to marker, remove marker, knit one, replace marker. (See page 3 of the book.)

Gritty hint 2: Learn to correct mistakes in sections, not by frogging or ripping back. Yes you can! Uh-huh, yes you can! Yep, I know, it does look impossible, especially when you're pretty new to lace knitting.. When you're on row 160 and there are 1216 stitches per row, and the mistake is 4 or 9 or 14 rows back, oh, yes you can!

I thought you'd need some kind of knitting high-hooey degree to do this in rather complex knitting, but it isn't so. Here's the trick: Isolate a whole section, if you must, so you can tell exactly where you are through all those yarn-overs and decreases. You gotta know where you are to tell where you're going! Those lattices might drive you nuts if you don't learn how to do this.

Here's how:

There's a mistake in the lattice work below where I've isolated the 4-stitch repeat on a dpn.

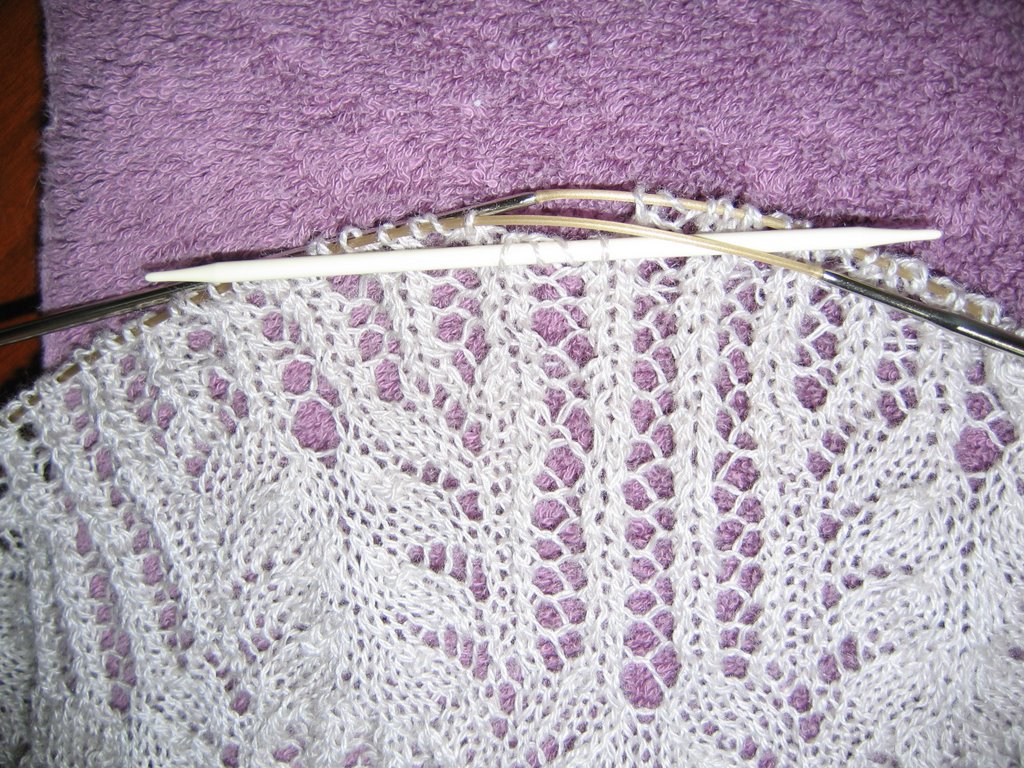
Get the rest of the stitches out of the way - pull your circulars through to the cord, and use point protectors. The Belt and Suspenders plan is a good one here. (The rest of the lattice is correct, just looks a little wonky in the photo...)


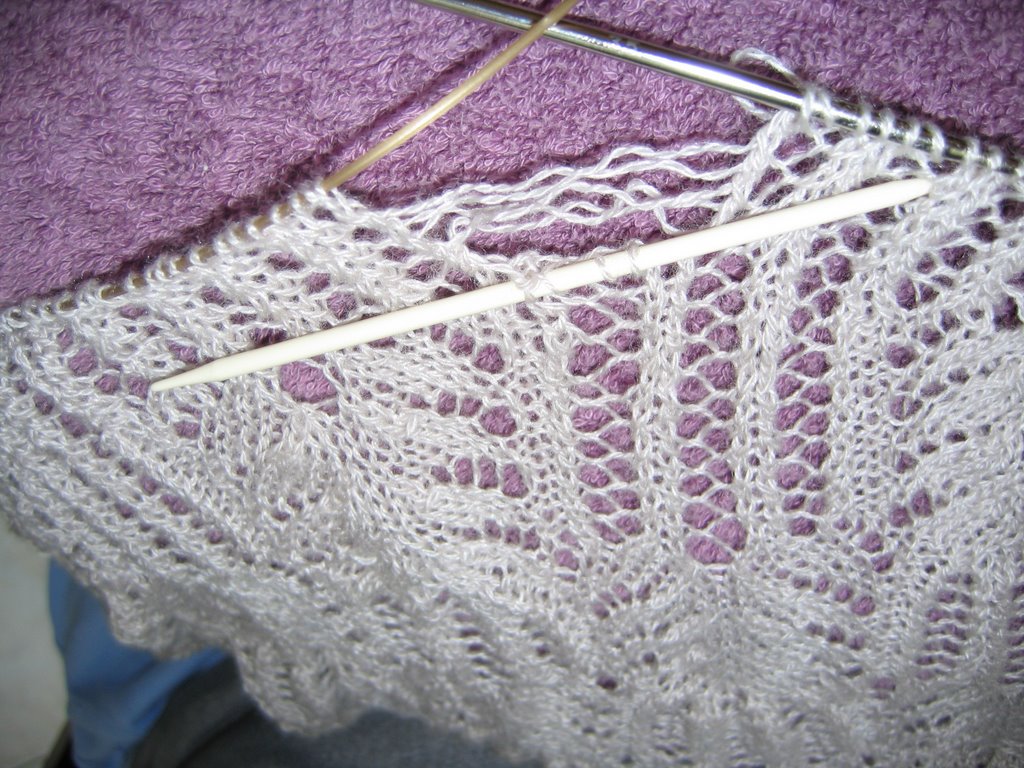
I frogged back to a row or two above the mistake, and then tinked down below it. I've counted several times to make sure I know which row I'm on.

I've marked the chart at my new beginning spot, and am following it meticulously, even though I know it by heart.


Be sure to knit each ladder in order as it appears from right-hand side of the knitting.


Be gentle and take care not to stretch the ladders, using a crochet hook, if necessary. If you have too much ladder, gently work the stitches so that they take up the slack as evenly as you can.

If you have too little ladder, consider omitting any yarn-overs in that row and picking them up on the next row (by scooping them up when it's time to knit them.)

Done.

This probably took fifteen minutes instead of fifteen hours.

To be continued...

(see the completed shawl here)


A FF&L Lace Primer, Part II


A bit more of what I learned on this project:
(Note: I'm publishing this out of order - it was actually completed after Part 1 - so that all the FF&L items are neighboring each other in some semblance of order...)

Gritty Hint 3: If you haven't used that yarn with those needles before, please consider making a swatch to make sure you like the fabric you're producing. "Lace weight" seems to be all over the place, from gossamer to cobweb and on up. There are a lot of hours invested on this thing - so from a generally-non-swatcher to another, I'm glad I did - I went down two needle sizes.


Gritty hint 4: I used orthodontic rubber bands as stitch markers. The bitty rubber bands don't take up so much room that they distort the knitting. Yep, they occasionally do slip around yarn-overs (as do other kinds), so keep your wits about you.

I know wise knitters who make their own markers from small bits of crochet cotton, leaving long tails so you can can weave them into the knitting as you go. I couldn't make it work well for me, though. I spent too much time tending tails.

Gritty hint 5: Pretty soon, all those markers just got in the way and slowed me down. I removed them all except the one marking the change from frost flowers to leaves near the end of the row, and also the end-of-round marker. At first, it feels sort of like a Flying Wallenda might feel without a net. But soon, it's wonderful. Put another way, now you can feel the full music and the rhythm of the pattern. You're singing a song instead of a bunch of phrases.

Gritty hint 6: I just did away with lifelines altogether. They were a pain in the butt, and it was more difficult to knit the next row than without it. Besides, I was using the skinniest dental floss I could find, having made a special trip to get it, too. (I prefer a different kind for my mouth.) I bought mint-flavored by mistake. Yuck! I wonder if the smell of mint is as unpleasant on wool/silk to potential wool/silk munching critters as it was to me. I was glad when I finally got to dunk that shawl in a bath.

Gritty hint 7: Watch for that moving row marker in FF&L. Though they tell you about it elsewhere in the book (page 3), the techniques are not all in the same spot. Here's what you do: Knit up to the marker. Remove the marker. Knit one stitch. Replace the marker. Continue on and do it again, natch, for each corner where you repeat that line of the chart from the beginning again.

Gritty hint 8: When you think you did all seven repeats in chart 2, check the stitch count. You should have 1388 stitches in the round (or 347 per side). I didn't, and couldn't believe I had to knit the damn chart again, one more time.

Gritty hint 9: When the book tells you to cast on the edge stitches, it's time to read Robert Powell's essay regarding edge grafting first. It's in the Gallery section of A Gathering of Lace, beginning on on page 159, in a section unrelated to FF&L.

To paraphrase it: Knit an entire pattern repeat of the edging before you begin attaching it to the shawl. Use a contrasting color to knit the first "live" row at the beginning of the second pattern repeat, attaching the edging to the shawl as indicated. Change to the main color at the beginning of the second row. Knit on and on and on......through the last row of edging. When it comes time for the grafting, you graft the end stitches to the beginning stitches using the contrasting color already knitted there as a path, removing the contrast thread after you have duplicated the path with the main color.

Otherwise, you'll have to do what I did and graft the end edge stitches to the beginning by the seat of your pants.

Let me say that feel a little snippy toward the book publisher for not indicating on the pattern that there was some provisional knitting recommended before I knit twenty-two feet of edging. Yes, I read the book from cover to cover when it came out. That was in 2000, when I had been knitting for a minute and only dreamed I might try to knit lace some day. I stuck a bookmark in the FF&L page at the time, and knit other stuff over the next six years. But I digress...

Gritty hint 10: An easy way to keep track of the edge stitches is to count ten stitches down the road on the circular and place a safety pin there. When you've completed one edging repeat, you will have used them all up, and you can move the safety pin after the next ten. Just remember that stitches 3-and-4 and 7-and-8 each count as one.


Gritty hint 11: If you missed number 9 before you cast on and knitted the edge, here's how I did it:I knitted a mock-up out of different yarn (bigger than lace weight,you betcha!), using a contrast color for the row that I wanted to graft. Then I followed the path of the contrast yarn in the mock-up for the real thing. Still took some concentration, but it worked just fine. MY! Those are some interesting colors...


The second photo shows the stitches pinned to the pillow so I could be sure to follow the path correctly.

Got any more?
Email me, and I'll consolidate any new hints into another post.

I know these two posts are a bit elementary, especially for experienced knitters. I think some of esteemed expert knitters were born knowing this stuff! This project, like all the others I've ever done, taught me something -and if I'm lucky, I'll learn a lot of things. Otherwise, IMO, there wouldn't be much fun in it.

Tuesday, May 30, 2006

Maiden Voyage


I finally decided to follow my friends into Blogworld. Knitting is my true passion, with spinning running a close second - and the wheel is rapidly gaining on the sticks.

I'm glad for a spot which lets me share the fabulous vistas I've discovered along this road of fiber exploration, as well as pointing out some of the potholes. Another good reason is that I don't have to be as polite here as I do on the groups and KALs. But I'll be nice - for now.

I've been knitting for six years. Six years ago, my sister was pregnant with twins. I decided to learn to knit during her eighth month. Knitter's magazine featured Elizabeth Zimmerman's Baby Surprise jacket at that time. I was working out of town for a month, so I bought the magazine, downloaded instructions on how to knit from the internet, and overnighted some yarn and needles from Patternworks to my hotel. I left with two baby jackets just as the twins were born. I've been knitting ever since.


Can I lay my hands on those pictures of the newborns in their novice baby jackets now? Of course not!!

But I came across this picture of the twins wearing hat and gloves knitted by moi. They were knitted when the boys were eighteen months old. Must have been a bit big for them at the time - they were five when this was taken!

I believe the hat is a Jill Eaton design called Firecracker. I don't have any idea about the mittens. I'm just amazed that there are still four of them.

Oh - the handsome guy in the middle? The Mayor of San Francisco, Gavin Newsom. I had to ask, too. But then, I don't live in SF at the moment - I only wish I did.

Knit on.